As you might know, Microsoft Project has a professional edition and a standard edition. Both the editions allow you to create a project plan but the professional edition has some extra features like tasks, automated timelines, scenario analysis et al. However, in order to understand Microsoft Project, you need to know how to create a basic level project plan with ease. Don’t worry because this is a simple step. People with only 40% knowledge of Microsoft Project can easily create proper project plans without any hassles. The following are a few steps you should follow
Sample Plan
Let’s assume that a simple program is being developed where CRM database is used for reading new clients’ accounts. The data from the accounts would be displayed on the intranet portal of the company. Starting with a small and simple sample project is usually the best option. The following are key data points of this sample project
“By failing to prepare, you are preparing to fail.”
― Benjamin Franklin
- Name of the Project – CAR Project
- Project Preparation
- Kick Off
- Functional Specifications
- Testing
- Development
- Deployment
These stages have underlying tasks which are not mentioned at the moment and you need to key these details into Microsoft Project.
Starting and Keying Project Phases
Firstly, start Microsoft Project. Now, the project phases which were listed in the sample plan should be keyed in – the project name, followed by project preparation, kick off, specifications, development, testing, and finally deployment. Keying these high level phases is the first step.
Keying Underlying Tasks Per Phase
Once the project phases have been keyed in, it is time to move on to more detailed project management planning with the underlying tasks which were not mentioned before. In order to come up with the steps, think about your WBS (or Work Breakdown Structure). Don’t go overboard but make sure that the main underlying tasks are all these. For instance, Project preparation would include gathering documentation and extracting information from the gathered documents. Functional specifications could include multiple work-steps that need to be conducted. Development phase would have tasks based on modules. Testing would also go in phases, based on modules. A pre-checklist needs to be taken care of before deployment. This step would be followed by deployment and going live.
Assigning Durations
In this step, you need to think about the time needed for one person to finish the task. Accuracy is important in these man-days but since you are only creating a sample project, you can afford to be a bit lax. You will see three columns – duration, start and finish. In this step, you would only be filling in duration. As a tip, if the duration column is not visible, right clicking the headers and choosing to include it will reveal the column to you.
Assigning Resources
Check out the column for resources and enter the name of the team member who would be performing that particular task. Usually, multiple teams and people are involved in the project. So, as a tip, it is always prudent to use initials, especially for large projects with many members. For instance – John Dorian from Team A could be listed as ‘JD, EW, A’. If multiple people are assigned a particular task, then the man days would come down. However, because you are just learning Microsoft Project, it is best to assume that one person is dealing with one task.
Keying Task Dependencies
This functionality allows you to create dependencies between various tasks. For instance, if Documentation gathering in the first phase ends on 4th of the month, extracting information from the gathered documentation will start on 5th. You can create such dependencies throughout the project file. Many formulas, permutations and combinations are present in this feature. You can have task 10 start right after task 8. You can also have task 10 start 5 days after task 7, and so on.
Reviewing Milestone Dates
The start date of the project and the end date of the project must be within the deadlines assigned to you. Make sure that mini-milestones throughout your project are working by checking individual tasks and sub-tasks.
Reviewing Gantt Chart
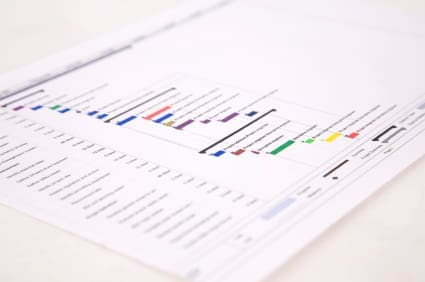
Finally, go to the ‘View’ tab and click on ‘Tracking Gantt’. For Windows, zooming into the chart is simple. Just hold down the Ctrl button and scroll up or down. As a tip, you should take a large piece of paper and print this chart out on it. This would ensure that you can always see it and track the plan easily. Always check the start date for an accurate chart. ‘Project Information’ under Menu will ensure that the start date is present in your Gantt chart.
If you want to make your work even easier, undertake a course in Microsoft Project Training by Parallel Project Training. First practice with the basics and then, this course will help you to become an expert in Microsoft Project.

